


By Edmond Tran

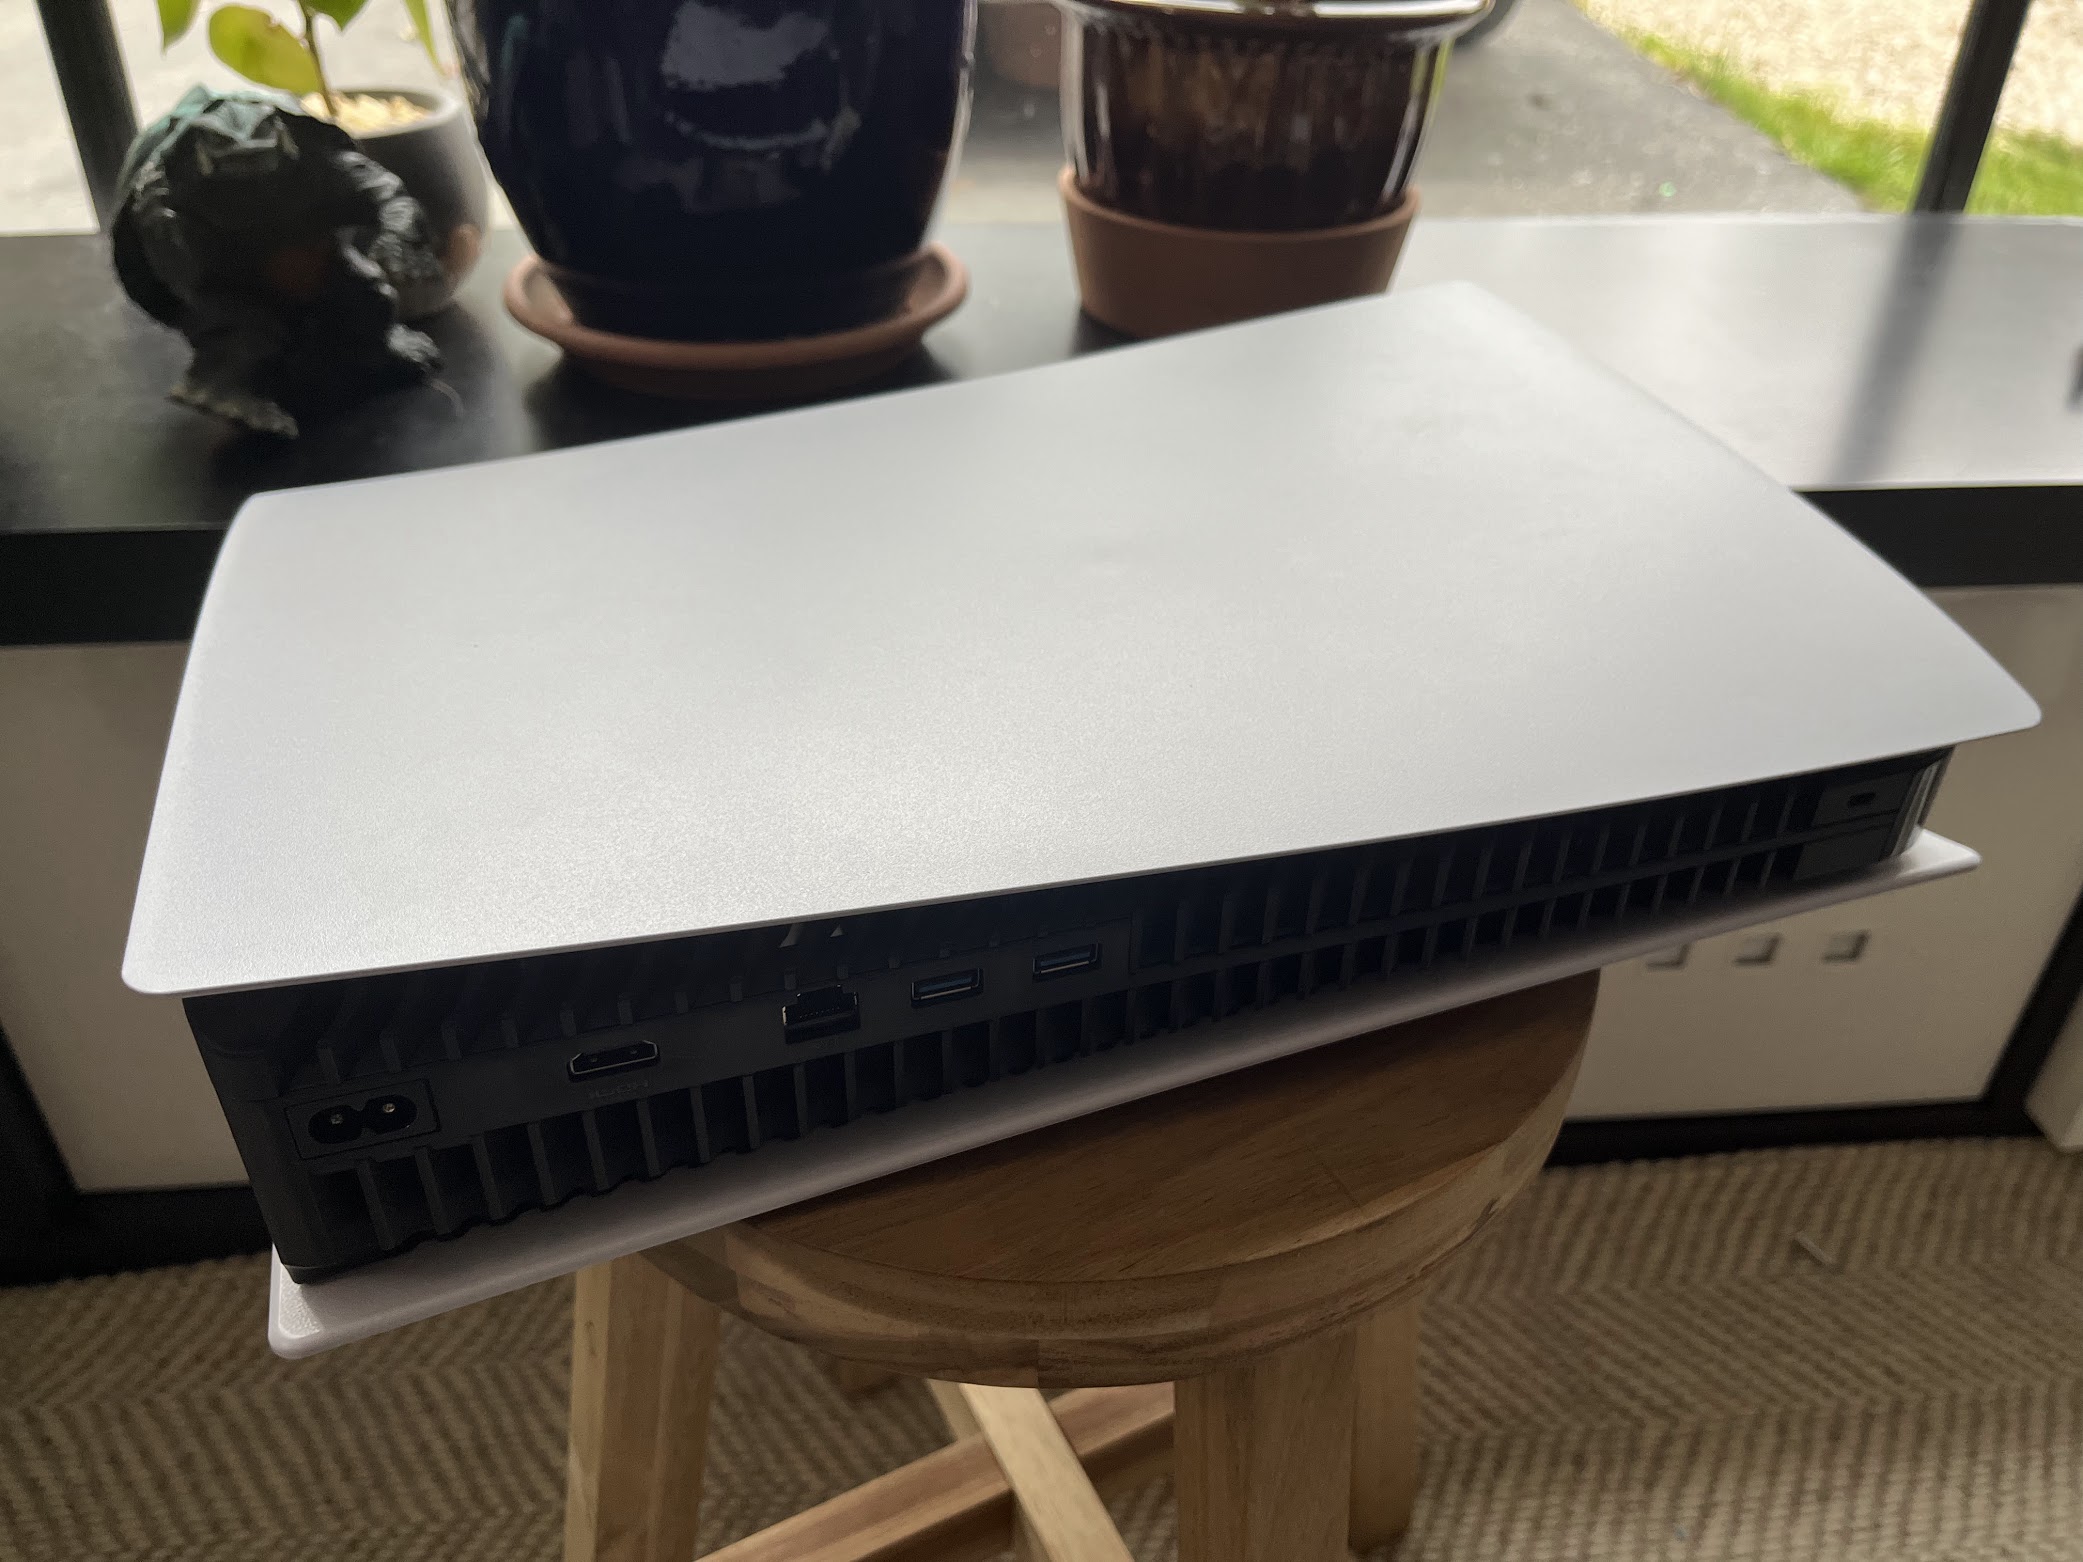
If you’re lucky enough to own a PlayStation 5, you’re also probably unlucky enough to run into the main issue with the console – running out of storage space for your games. Games distribution is increasingly leaning towards digital downloads, with even physical discs requiring hefty downloads before you can start them properly. Your PS5 SSD needs an upgrade.
While the PS5 boasts a 1TB internal hard drive, only around 667GB is actually usable to store games and other applications. And with big blockbuster games floating between the 50-100GB mark – sometimes above 100GB – you’ll probably find yourself doing a lot of deleting and redownloading (a pain if you’re on a limited data cap with your internet service provider), or a lot of transferring to and from an external storage device.
The best solution to all of these problems is to expand the internal storage of your PS5 by installing another high-speed NVMe SSD to the console – a process that is easier than it’s ever been, compared to the PS3 and PS4 generations. Let us show you how.
The world of NVMe SSDs can certainly be confusing, especially as Sony was very apprehensive about which particular models it recommended using when the company first introduced the ability to expand and upgrade your PS5’s internal SSD storage.
Picking the right SSD is probably the hardest step of the whole upgrade process, but thankfully several storage manufacturers are now advertising drives that are PS5-compatible.
The hard factors you need to keep in mind are that you need:
The drive also must have a heatsink installed, whether pre-affixed or self-affixed.
If you’re the kind of person who has stumbled across this guide looking for help, we recommend buying a drive with a pre-affixed heatsink to prevent any additional hassles.
To be clear: These are the drives that look like big USB thumbsticks, not larger SSD drives you might find as portable external hard drives on the shelf of your local electronics store.
They come in multiple sizes, but thankfully the PS5 supports several sizes: 2230, 2242, 2260, 2280, and 22110. Your NVMe box should state one of these numbers.
For the purposes of this PS5 SSD storage upgrade guide, we reached out to Western Digital, since we’ve personally used several different WD hard drives and SSDs in the past and never had any issues. They provided a Western Digital WD_BLACK SN850X NVMe SSD with Heatsink for the process.
This is the latest in Western Digital’s high-end, gaming-focussed range of storage products, designed specifically with PC gaming and PlayStation 5 users in mind. These come in 1TB and 2TB models, which we spotted online for AU $239 and AU $469 respectively at the time of writing. These prices are more or less in line with comparable drives from other manufacturers, though prices do fluctuate.
While PS5 users won’t be able to take advantage of the flashier aspects of the WD_BLACK SN850X – the heatsink is quite fetching, and it has a customisable LED light on the top designed to entice custom PC builders – the incredibly fast read and write speeds are what you’ll benefit from here.
The PS5 has a minimum recommended read speed of 5,500MB/sec, which is what the built-in internal SSD is rated at.
After installation, our WD_BLACK SN850X clocked an average read speed of 6800MB/sec, according to the console’s built-in speed benchmark tests, which is far and away above the recommended target. It’s worth noting that Western Digital advertises a read speed for up to 7300MB/sec for this drive, which you might more readily achieve on PC.
Usually, Sony do not recommend running games off the external NVMe SSD expansion, preferring you to transfer games to the internal drive first. However, with these read speeds, we saw absolutely no perceivable difference. If you decide to go for a different NVMe SSD drive, it’s worth doing a bit of research to make sure others haven’t noted any significant problems with them.
Here are some other models that come highly recommended for PS5 upgrades:
Once you’ve gone through the mental gymnastics of picking a suitable NVMe SSD drive that meets all the requirements, the rest is easy.
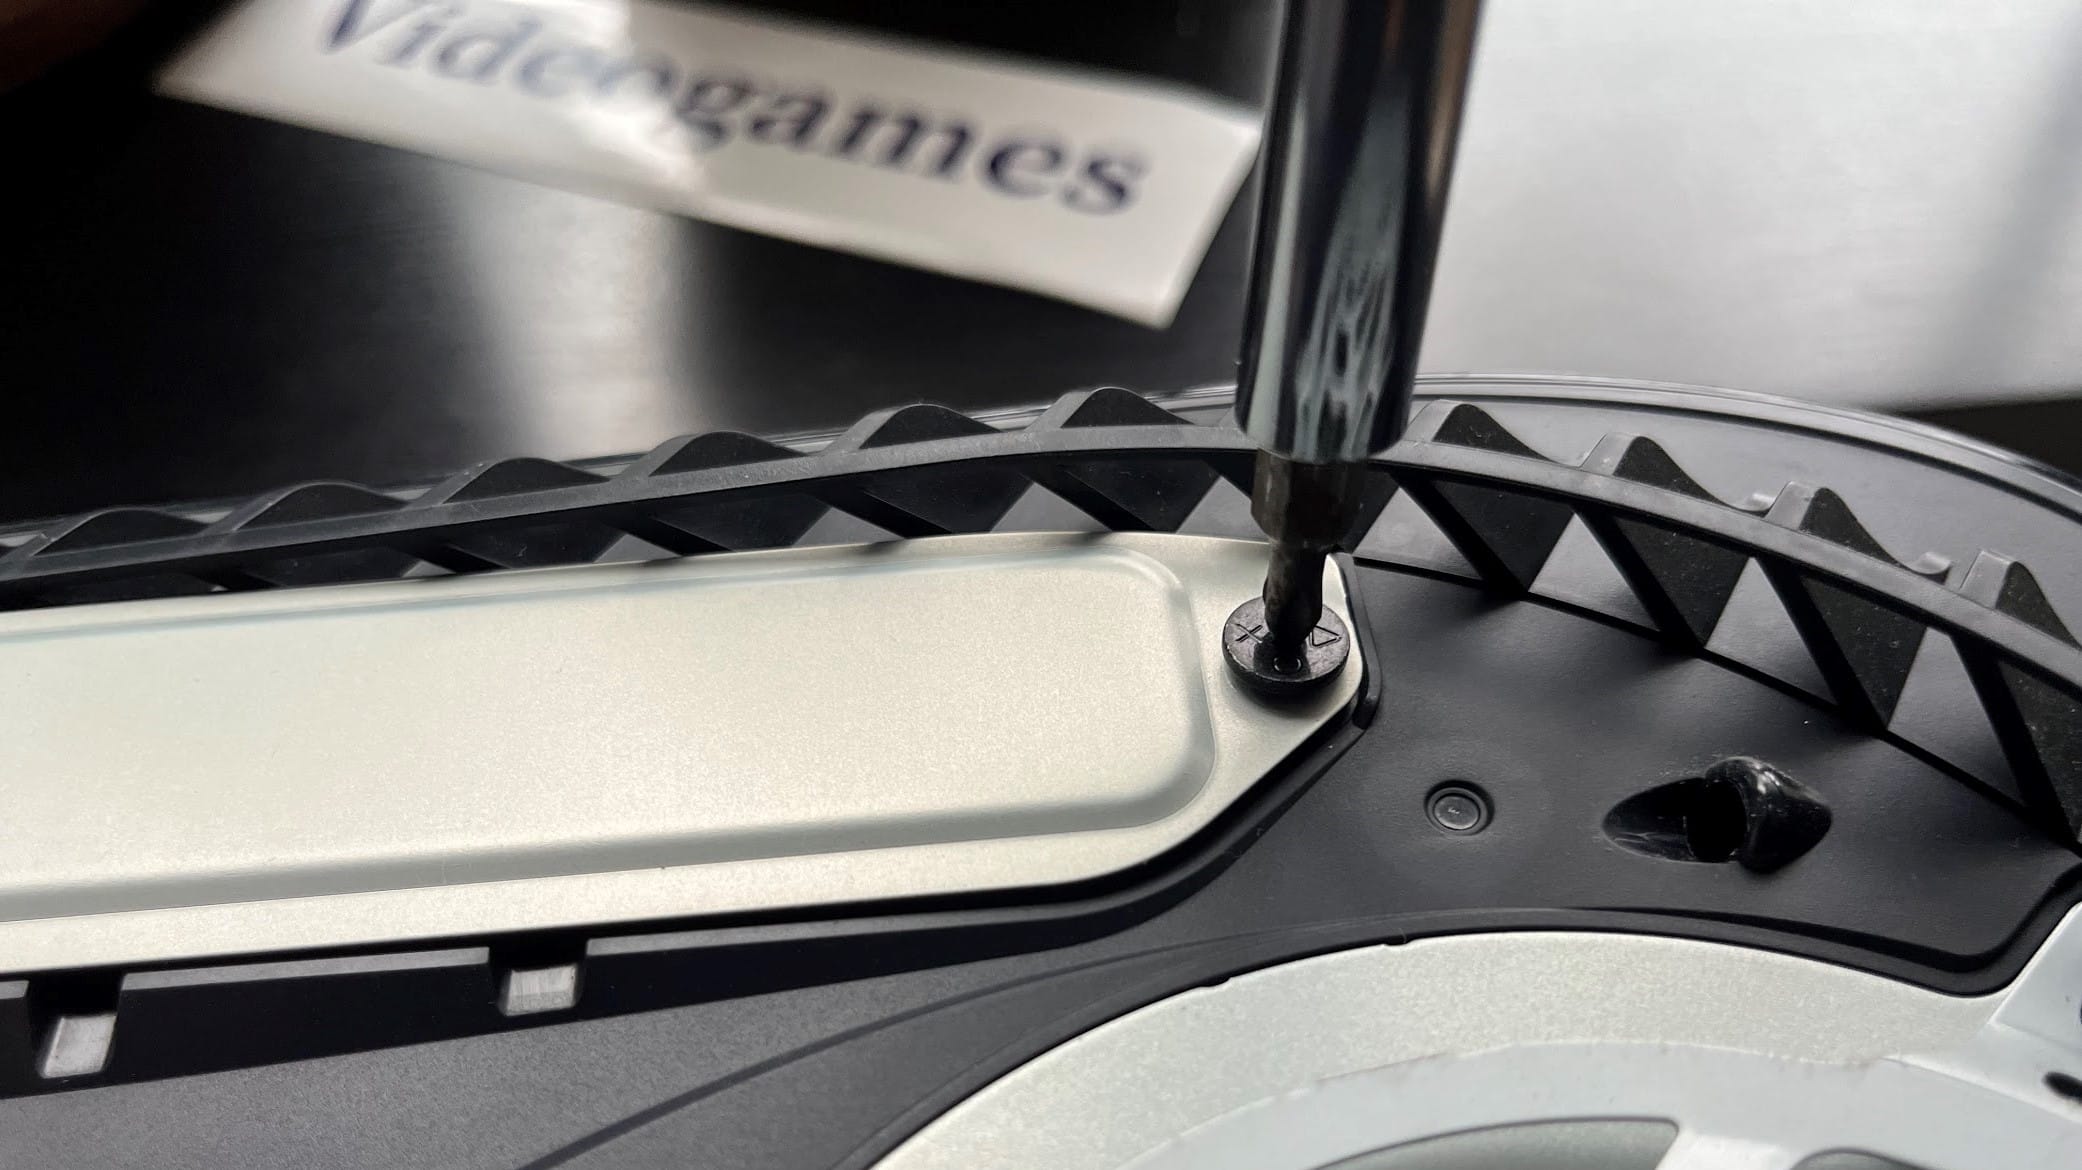
Before you begin to upgrade your PS5’s storage, you’ll need to prepare a few things
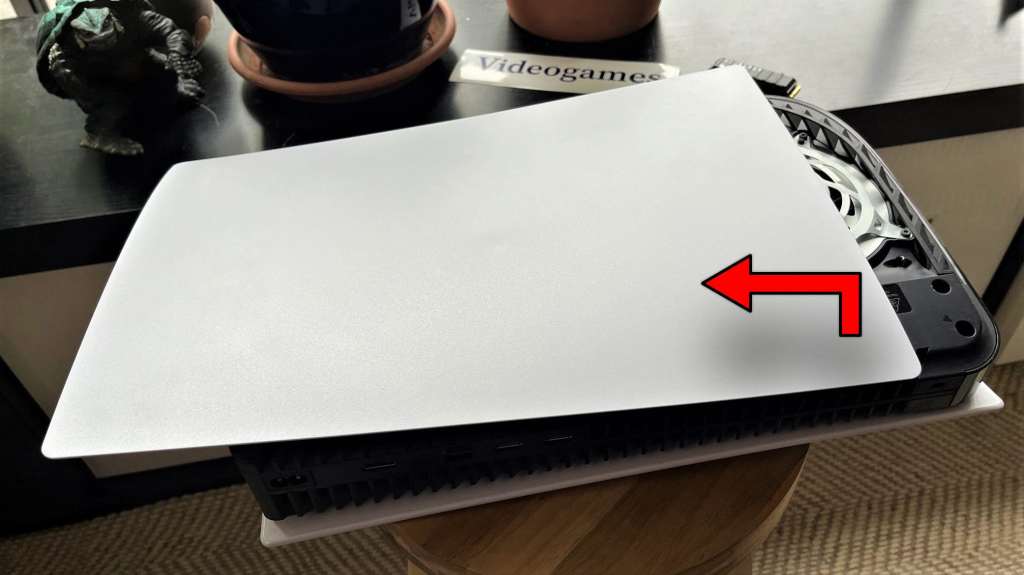
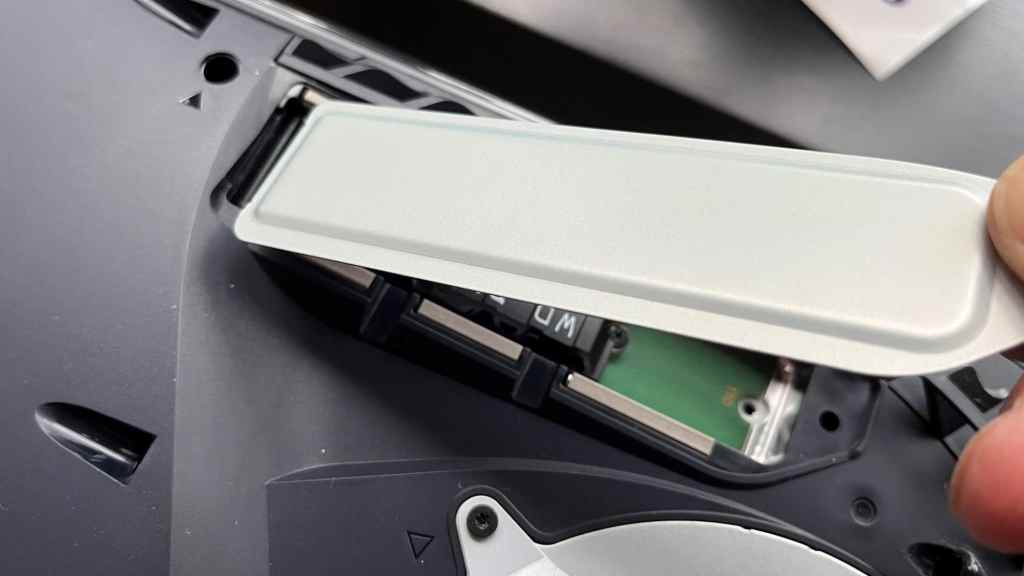
This can be a bit tricky, because it can feel like you’re about to break something, but don’t fret. The faceplate is secured by little hooks, which you’ll need to lift and shift to get it off.
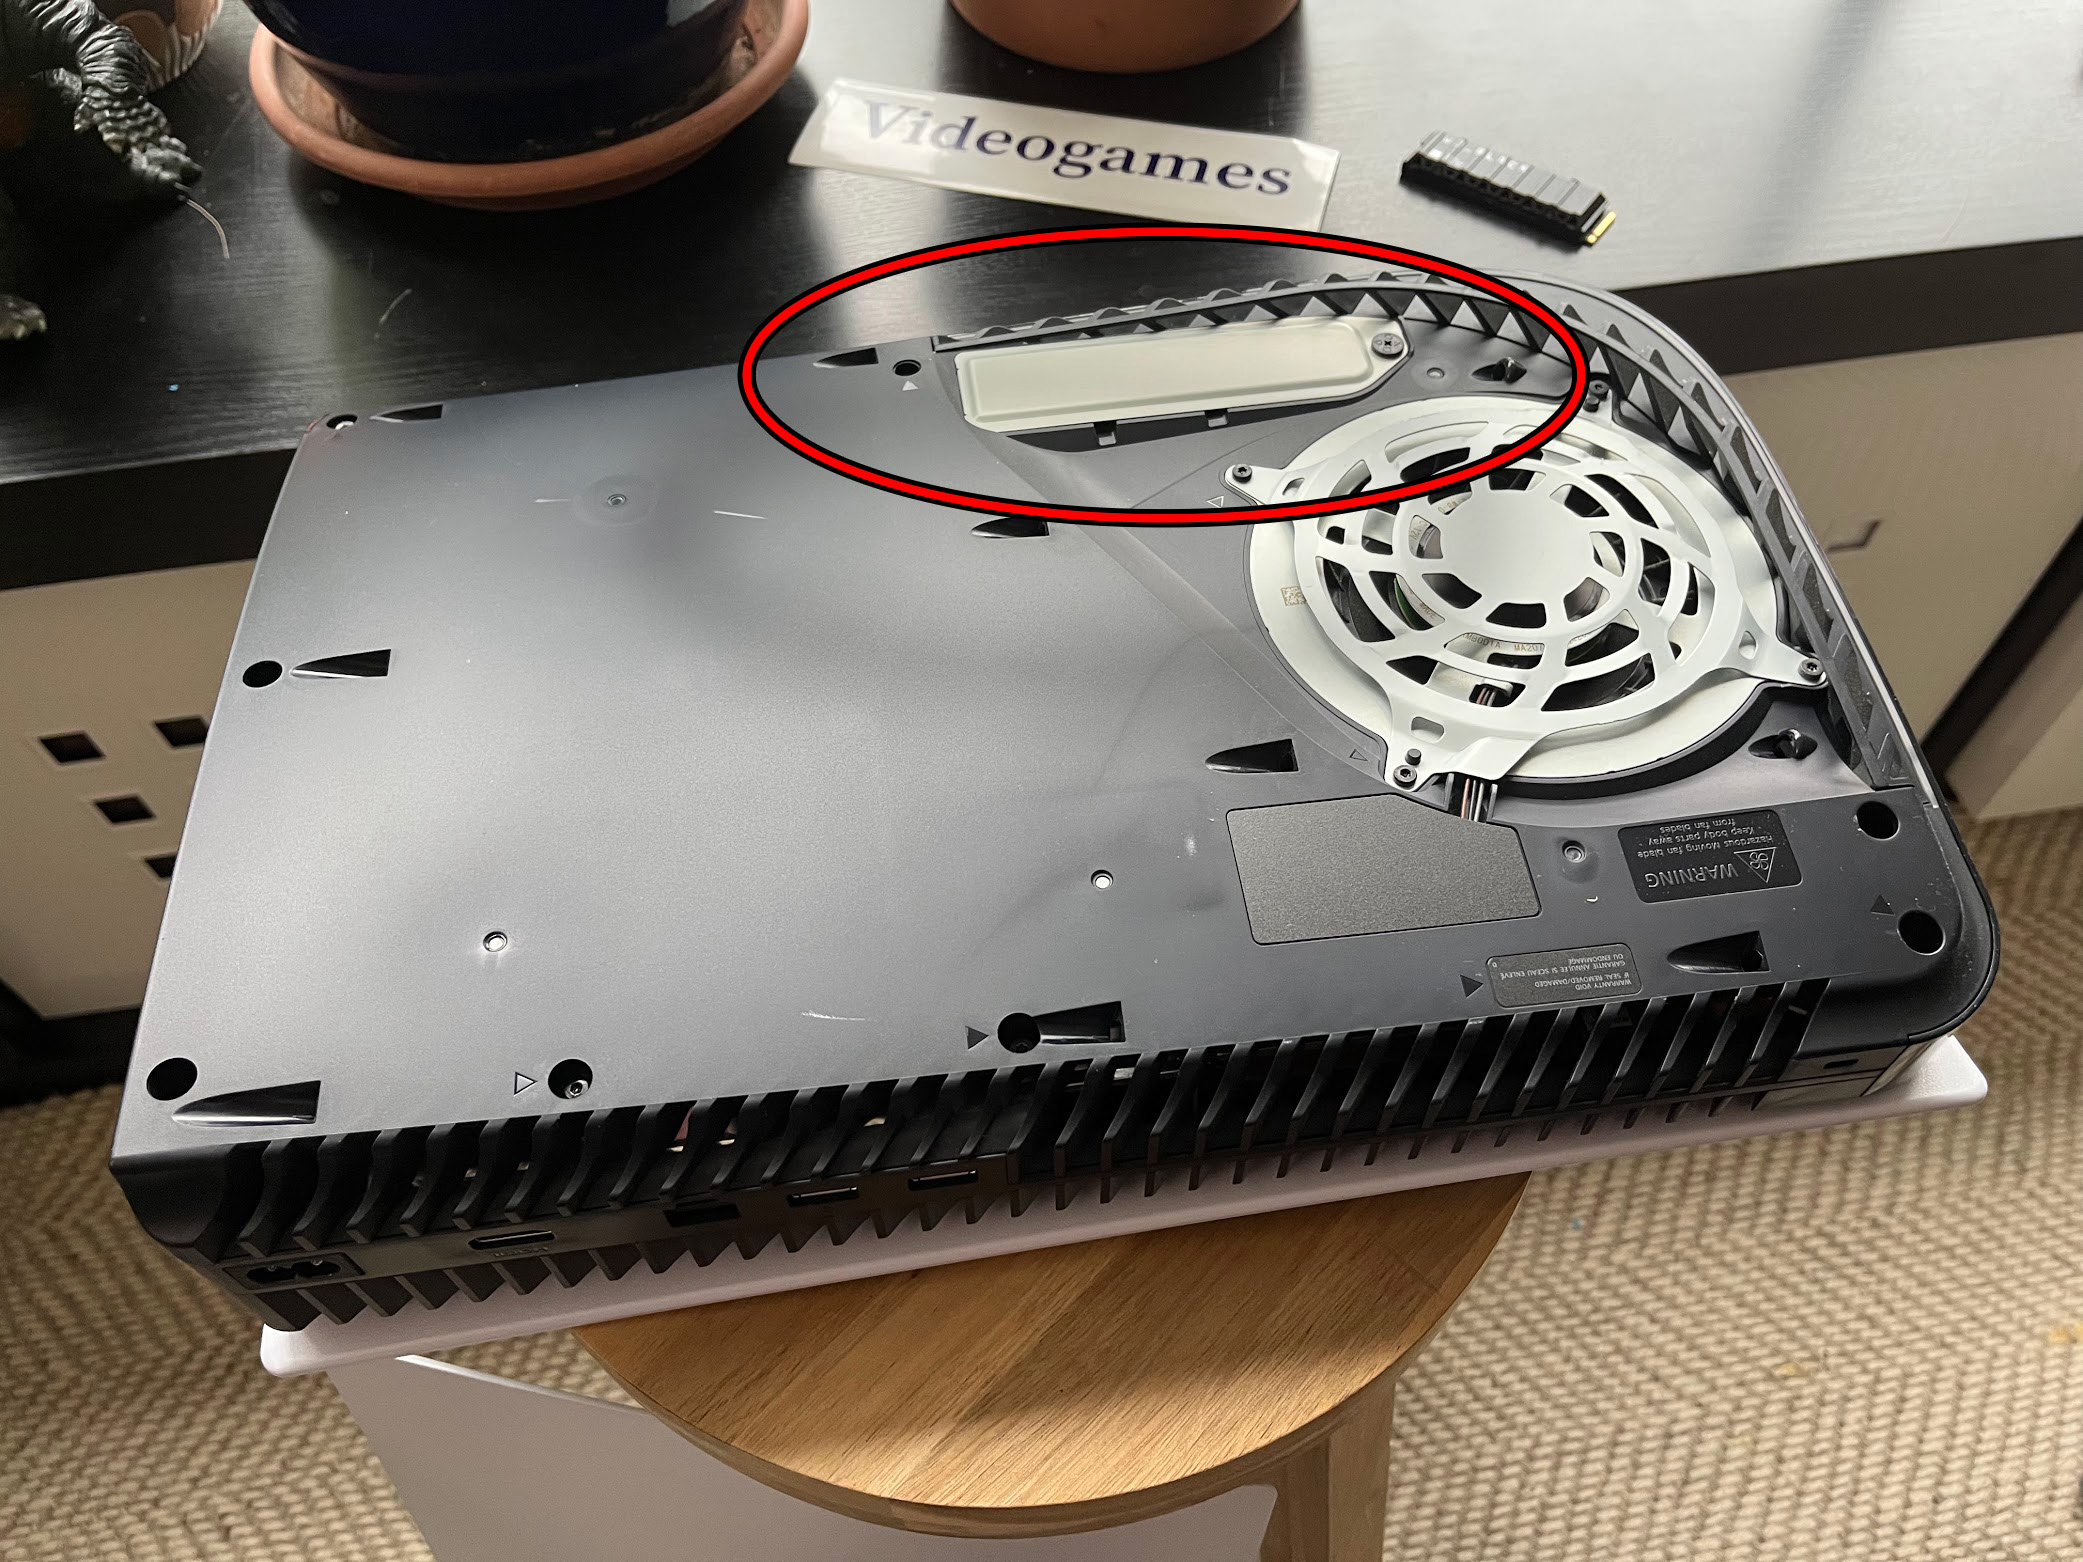

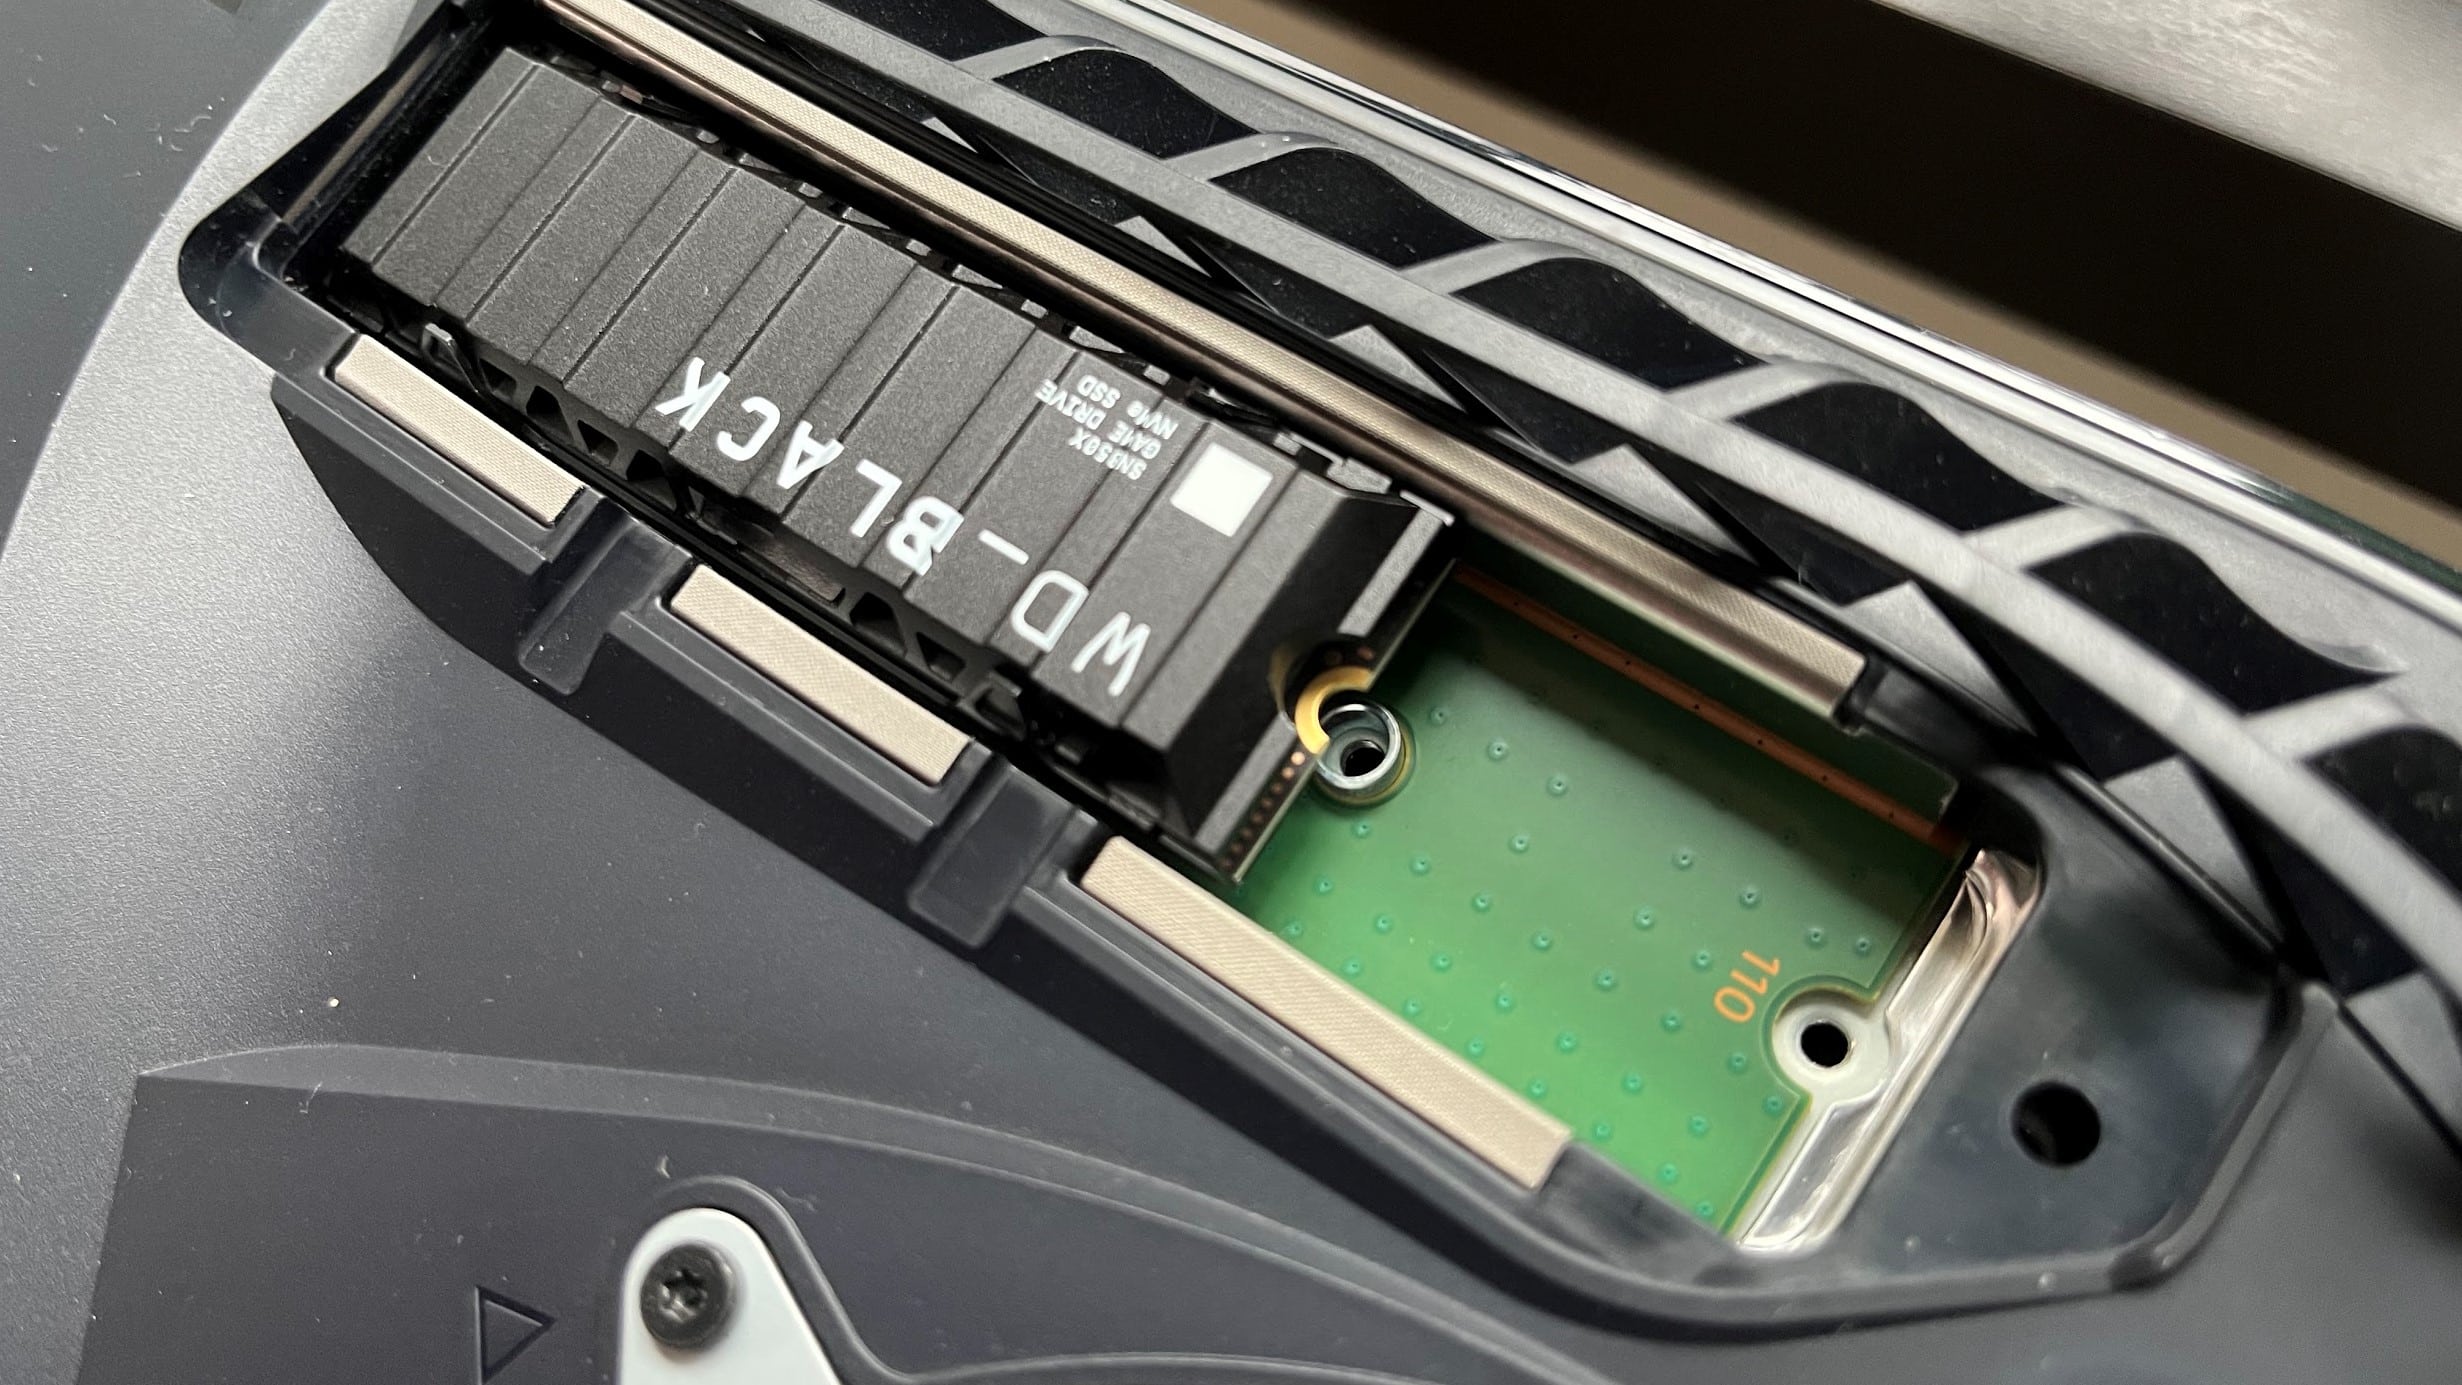
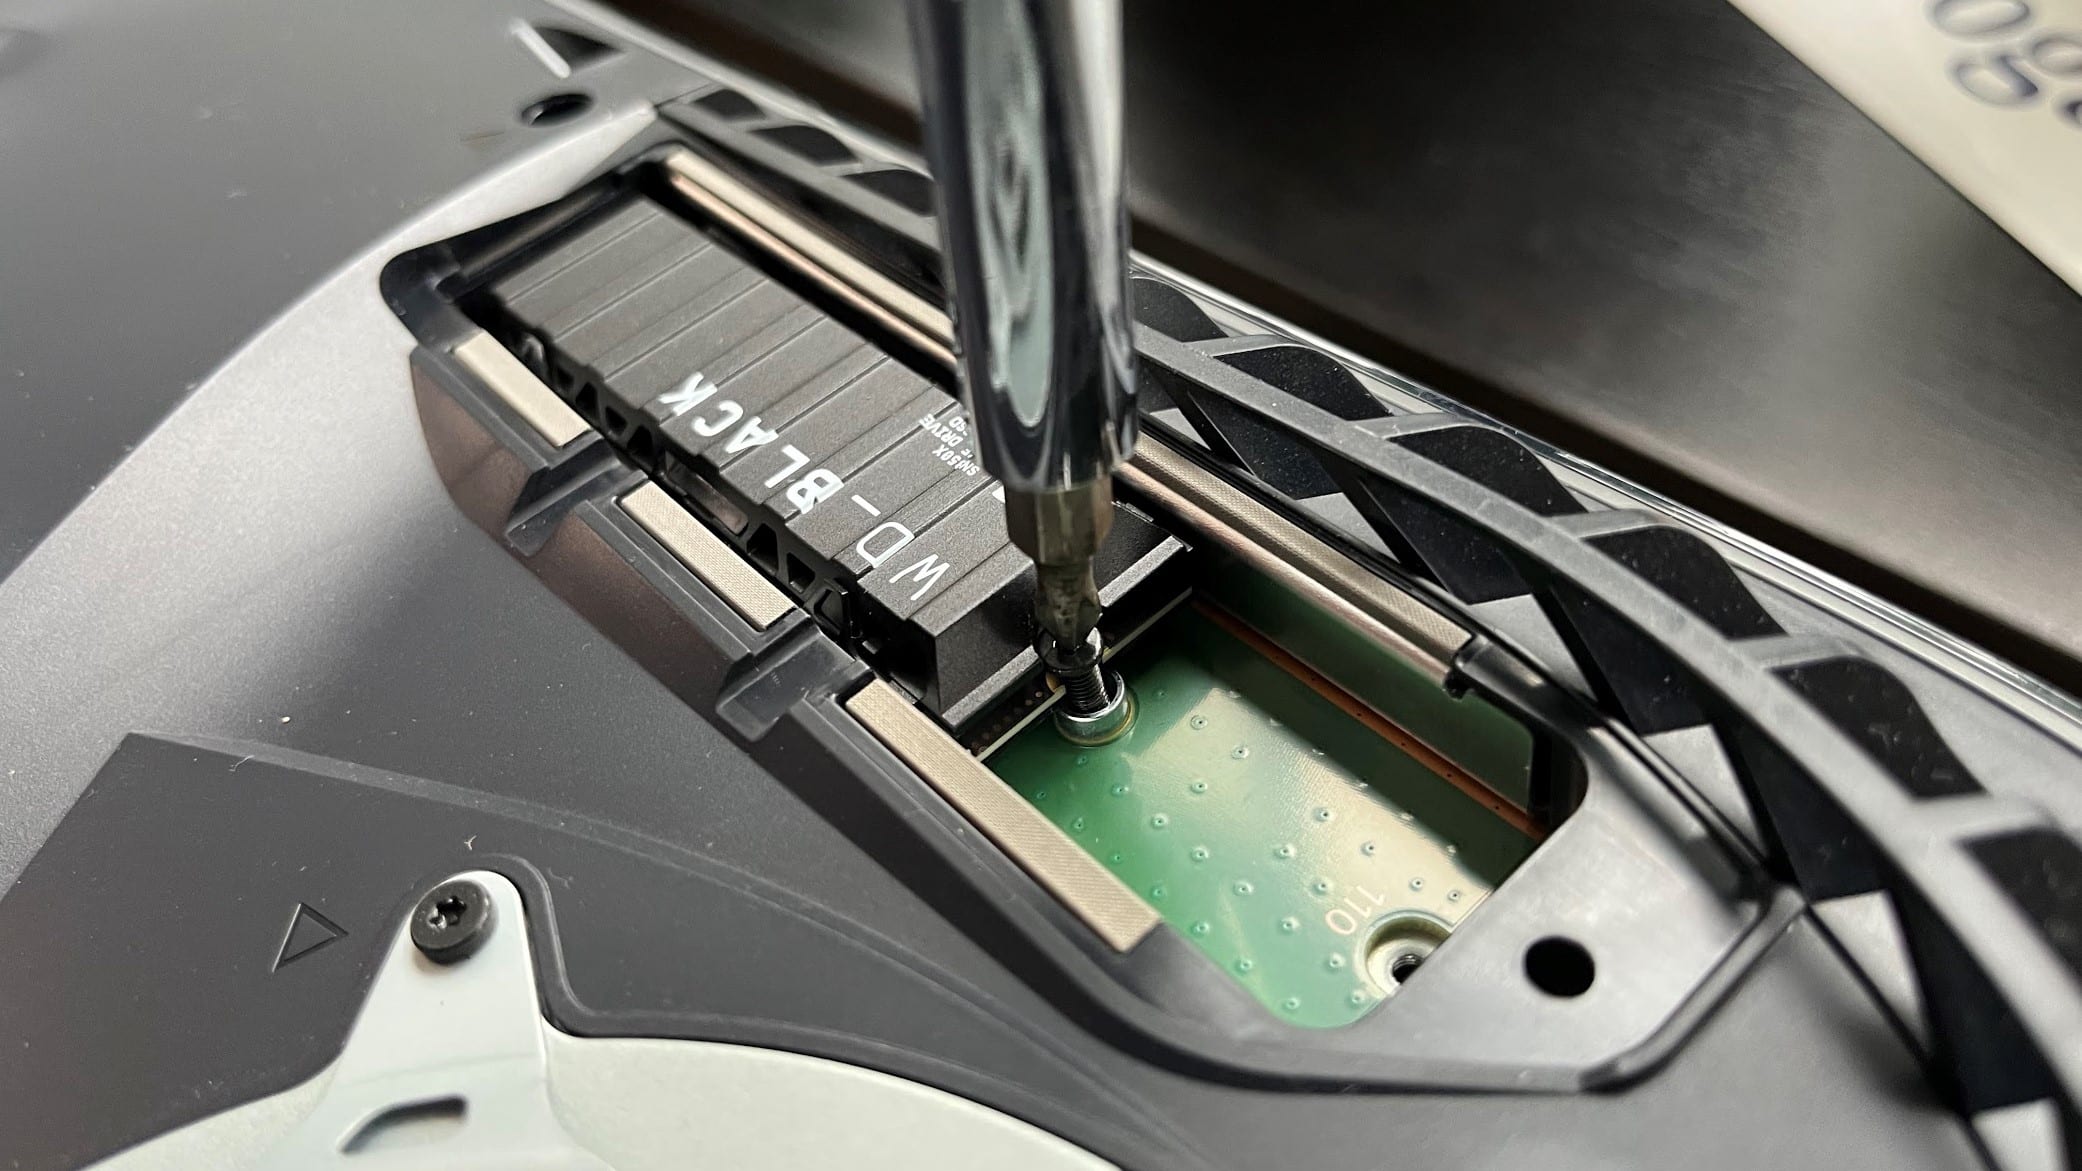
On the right hand side of the expansion slot, you’ll see a screw holding down a small, metal, cylindrical spacer.

As described earlier, NVMe SSDs can cone in different sizes: 2230, 2242, 2260, 2280, and 22110, and the holes in the expansion slot correspond to the different drives.
You can see the holes are labelled 30, 42, 60, 80, and 110 respectively – which correspond to the last two digits of the size numbers.
For our example drive, the Western Digital WD_BLACK SN850X, we used the ‘80’ hole.
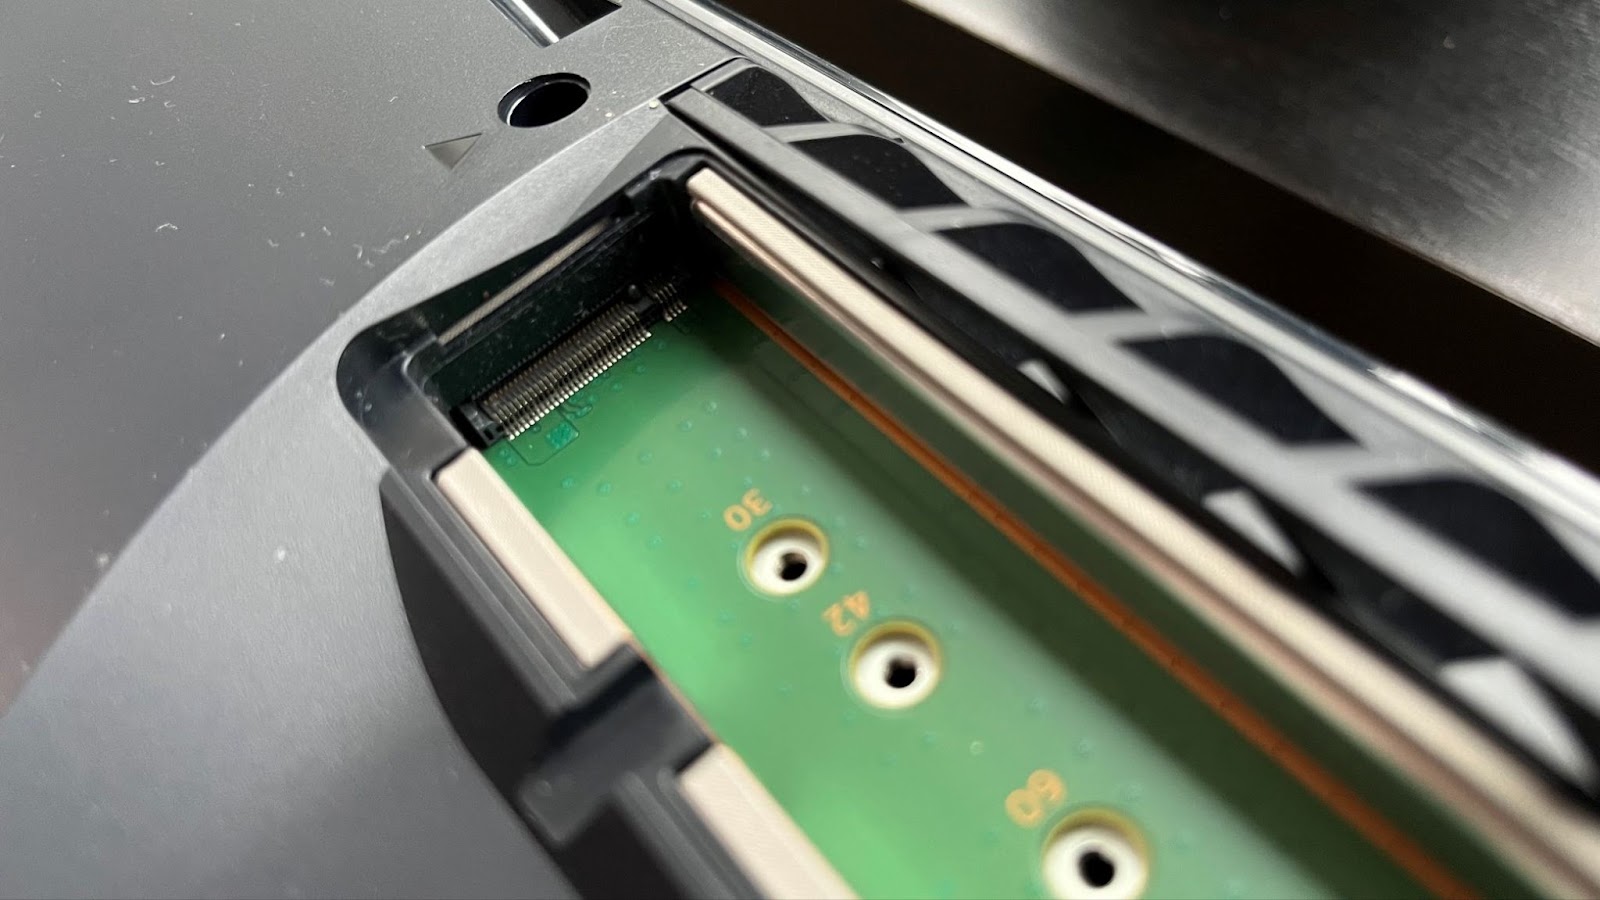
On the opposite side of where you found the screw and spacer, you’ll see the slot you’ll need to plug your NVMe SSD into.

Your new, upgraded storage will let you install more games on your PS5, to be enjoyed on a whim. Let’s hope average PS5 game sizes don’t get much bigger anytime soon, huh?
Western Digital provided an SN850X NVMe SSD for the purposes of this guide. GamesHub has affiliate partnerships. These do not influence editorial content. GamesHub may earn a small percentage of commission for products purchased via affiliate links.
We’ve handpicked our latest and most visited guides covering online casinos, betting sites, and more—for every kind of player.
Edmond was the founding managing editor of GamesHub. He was also previously at GameSpot for 13 years, where he was the Australian Editor and an award-winning video producer. You can follow him <a href="https://x.com/EdmondTran">@EdmondTran</a>
The wait is almost over. League Classic launches globally on Wednesday July 29th, 2026, and unlike a standard patch rollout, it goes live at exactly the same time for every…